Here is the step-by-step guide based on the workflow you explained. I have left the specific prompts and link buttons blank so you can fill them in, just as requested.
Step-by-Step Guide: The AI Laptop Mockup Strategy
Step 1: Create the AI Character
First, generate a realistic AI character to be the “face” of the content. Go to your preferred AI image generator (like Midjourney or Leonardo AI) and use this prompt:

Copy This Prompt:
give me this type of different anime girl who wore yellow dress
Step 2: Get the Aesthetic Background
Next, you need a high-quality, dark-themed background to set the mood. You can use your own photo, or download a “Dark Laptop Theme” image here:
NOTE: Open pinterest for download the image
Step 3: Generate the Script with Gemini
Now, we need the code or the text content. Open Google Gemini by clicking the button below, and then paste the specific prompt to generate the content.
Paste this into Gemini:👇
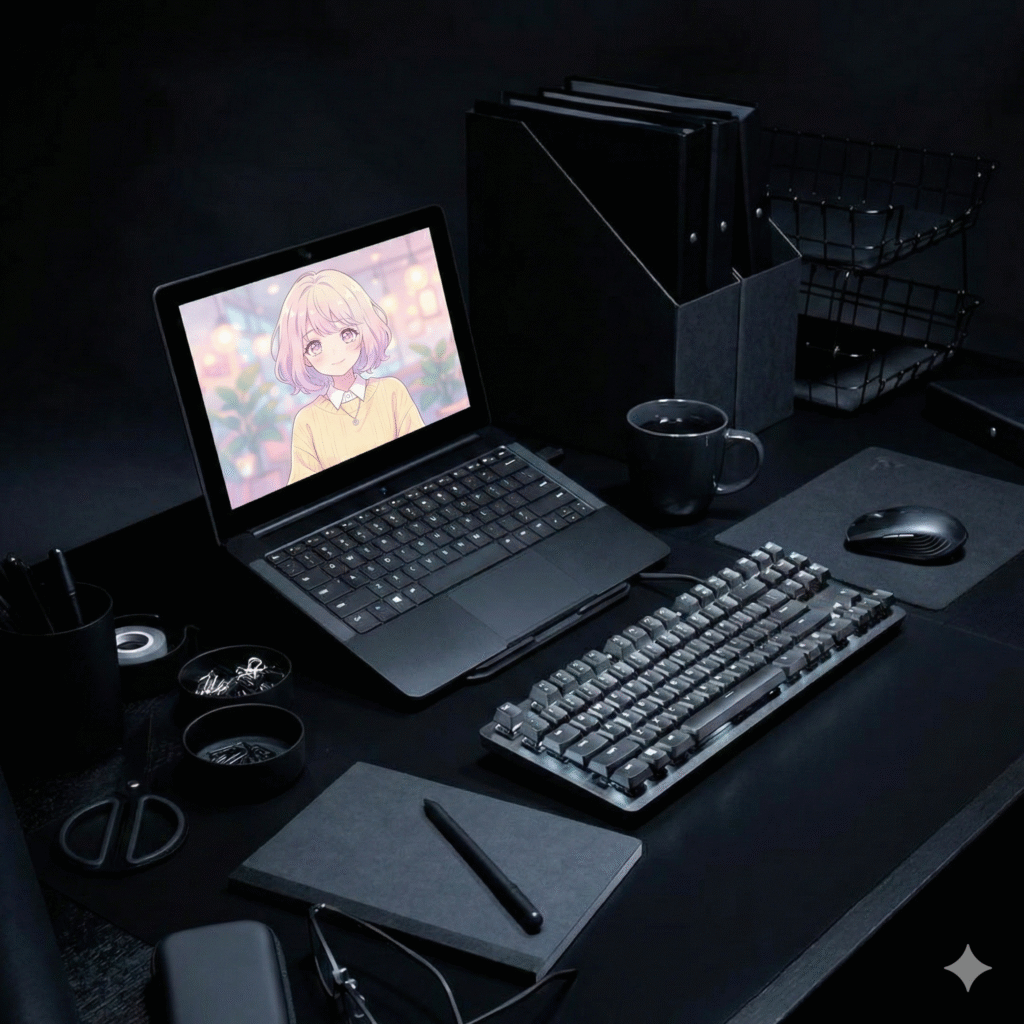
the first picture is on second picture laptop
Step 4: The “Google Flow” & Frame
Once you are in the tool, add the Laptop Frame, upload your background, and paste the final prompt inside the frame to complete the look.
A soft-spoken girl talks to me in a caring, slightly teasing tone. She clears her throat gently and smiles while speaking:

'Hmm… sir, aapne apni dawai le li?

Aur haan, 5 baje ka alarm set kar du?'

Her voice feels warm, comforting, and affectionate, like she genuinely cares about me. (no zoom in video and no caption in video )
Final Step:
Finally, bring it all together. Go to the “Google Flow” tool (or the specific tool the reel mentioned) to add the laptop frame and finalize the design.