Introduction
Hello doston! Aaj ke time mein Cinematic AI videos Instagram, Facebook aur YouTube sabhi platforms par kaafi zyada trending mein chal rahi hain. Sabse mazedaar baat ye hai ki aap bhi sirf ek simple photo ki madad se bilkul professional cinematic video bana sakte ho, woh bhi AI tools ki help se.
Agar aapke paas ek normal photo hai, to aap use AI tool mein upload karke aur sahi prompt ka istemal karke kuch hi minutes mein ek amazing cinematic video mein badal sakte ho. Aaj ke is article mein main aapko bilkul saral aur simple bhasha mein samjhaunga ki AI tools ki madad se professional cinematic video kaise create ki jaati hai aur aise videos banane ke liye kaun-kaun se AI tools ka istemal kiya jaata hai.
Cinematic AI Video Editing Kya Hoti Hai?
Cinematic AI Video Editing ka matlab hota hai Artificial Intelligence ki madad se aisi video banana jo dekhne mein bilkul kisi movie ke scene jaisi lage.
Aisi videos mein AI khud hi alag-alag camera angles, realistic lighting, slow motion, depth effect aur professional color grading add kar deta hai. Isi wajah se bina editing sikhe aur bina zyada mehnat ke bhi ek professional-quality video tayyar ki ja sakti hai.
Which tools can be used for this?
Doston, abhi ke time mein kaafi saare AI tools available hain. Lekin main jo tools aapko bata raha hoon, woh beginners ke liye bilkul perfect hain:
- ChatGPT: Is AI tool ki madad se aap ek perfect prompt likhwa sakte ho aur realistic image bhi generate kar sakte ho.
- Google Gemini: Is AI tool ki help se bhi aap professional images generate kar sakte ho aur naye ideas ke saath creative prompts le sakte ho.
- Google Flow: Yeh tool professional aur cinematic AI videos generate karne ke liye kaafi powerful mana jaata hai.
- CapCut: Video generate hone ke baad uski final editing, effects aur background music add karne ke liye CapCut ka istemal kar sakte ho.
- VN Editor: Agar aap simple editing karna chahte ho aur high quality mein video export karna chahte ho, to VN Editor ek bahut accha option hai.
Doston, agar aap in tools ka sahi tareeke se istemal karte ho, to bahut hi aasani se ek professional cinematic video bana sakte ho.
Cinematic AI Video Editing Tutorial 2026
1. Photo Prompt
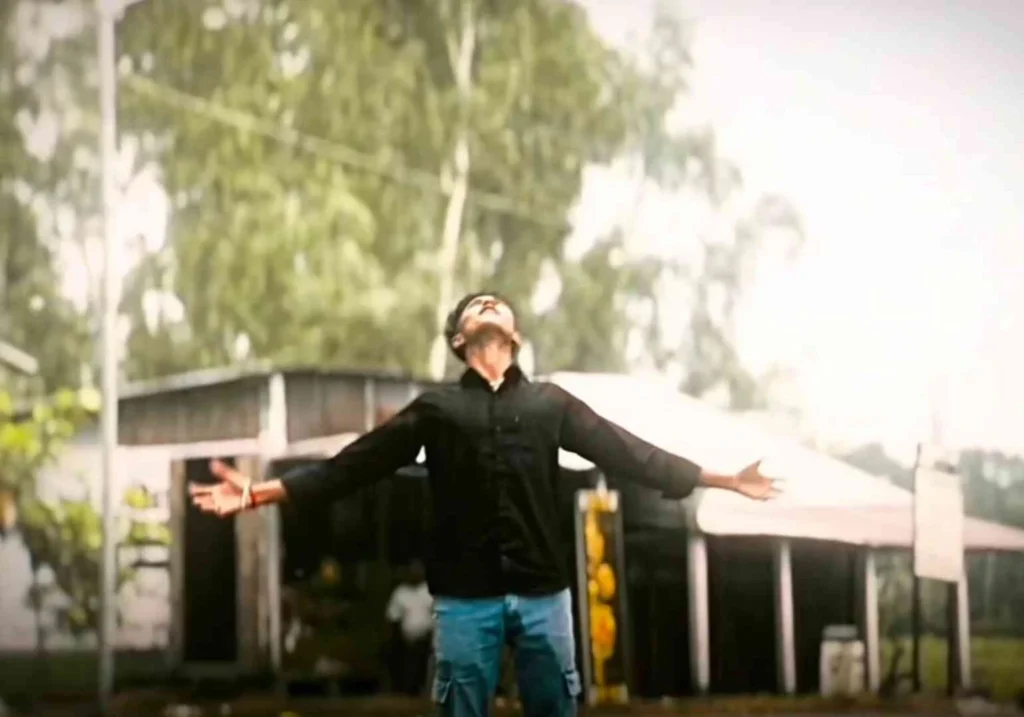
Use the uploaded person photo as the only identity reference. Create one premium ultra-realistic vertical 9:16 storyboard collage with eight connected horizontal panels. Keep the same face, hairstyle, skin tone, body proportions, dark maroon/brown shirt, loose white pants and same footwear in every panel. Panel 1: Close rear view of the subject walking calmly on a wet urban road after rain. Panel 2: Medium rear view with relaxed arms, wet road reflections and green trees. Panel 3: Wider shot showing the subject centered on the rain-soaked road. Panel 4: Wide view with road divider, buildings, trees, cloudy sky and passing vehicles. Panel 5: Three-quarter side view as the subject raises one hand toward his hair. Panel 6: Side profile walking shot with one hand resting on the head and blurred scooters behind. Panel 7: Medium side-rear view as the subject lowers his hand and continues walking. Panel 8: Final wide rear view as the subject walks away on the reflective road. Add a few small realistic gray-and-white pigeons flying naturally in the background, matching the rainy atmosphere. Keep pigeons away from the face and body. Ultra-realistic photography, cinematic color grading, natural motion, clean panel separation, no duplicate person, no cartoon pigeons, no text, no logo, no watermark.
2. Video Prompt
Use the uploaded reference image as the exact identity reference and recreate the same realistic cinematic sequence shown in the reference video. Create one single full-screen landscape video in 16:9 aspect ratio, approximately 12–13 seconds long. This prompt should work for any subject, regardless of age, gender or appearance. Preserve the exact identity, face, hairstyle, skin tone, body proportions, clothing, accessories and footwear from the reference image. Keep the same outfit consistently throughout the complete video. For the original look, use a dark maroon/brown long-sleeve shirt with loose white pants. Create one continuous realistic camera shot on a wet urban road just after rain. The road must have realistic water reflections, soft cloudy daylight, green trees, a road divider, distant buildings, passing scooters and a calm rainy atmosphere. The scene should look like real professional DSLR footage with natural colors, realistic depth of field, detailed wet asphalt and subtle motion blur. At the beginning, show a close rear view of the subject walking slowly away from the camera on the wet road. The subject’s arms remain relaxed and the walking speed stays natural. The camera follows smoothly from behind without shaking. Show the wet shirt fabric, natural body movement and realistic reflections on the road. Then gradually move to a medium rear shot while the subject continues walking in the same direction. Slowly reveal more of the road, trees and background. Keep the subject centered and maintain the same face, hairstyle, clothing and body shape. Do not suddenly change the camera angle or make the subject disappear. Next, smoothly pull the camera farther backward into a wide shot. Reveal the broad wet road, road divider, trees, buildings and passing traffic. The subject should remain clearly visible in the center of the frame. Add a few realistic gray-and-white pigeons flying naturally in the cloudy background, matching the reference video. The pigeons should remain small and distant, with subtle realistic motion blur, and must never cover the subject. After the wide road reveal, slowly shift to a natural three-quarter side angle while the subject keeps walking. The subject gently raises one hand toward the hair in a calm, natural movement. The hand must move slowly and realistically from the side of the body to the head. Keep the fingers, wrist and elbow anatomically correct. Do not make the hand jump, disappear or bend unnaturally. Continue with a side-profile walking shot. The subject keeps one hand resting naturally on the head for a short moment while scooters and vehicles pass in the background with realistic motion blur. The camera should track the subject smoothly at walking speed. Add a few pigeons flying behind the subject across the cloudy sky, just as they appear in the reference scene. Keep the pigeons realistic, small and naturally spaced. Then the subject slowly lowers the hand from the head and continues walking calmly. The camera moves slightly backward and returns to a side-rear angle. Keep the road reflections, traffic, trees, cloudy sky and rainy atmosphere consistent. Do not change the location, time of day, outfit or lighting. End with a wide rear shot as the subject continues walking away on the reflective wet road. The subject becomes slightly smaller in the frame while the road, trees, pigeons and cloudy background remain visible. Finish with a soft cinematic hold, natural motion and a gentle fade-out if supported. The final result must look like one real continuous video, not an AI animation. Use natural walking physics, realistic camera tracking, accurate human anatomy, natural hand movement, believable fabric movement, realistic vehicle motion, soft cloudy lighting, detailed wet-road reflections and cinematic color grading. Output must remain landscape 16:9 from beginning to end. Do not show the collage, panels, borders, split-screen or storyboard layout in the final video. Do not create a duplicate subject, extra main characters, cartoon pigeons, oversized birds, distorted hands, face morphing, outfit changes, sudden camera cuts, shaky camera, unnatural walking, teleportation, jumping, falling, running, dangerous road action, text, logo or watermark
Step-by-Step Process to Create Cinematic AI Videos
- Generate the Reference Photo: Sabse pehle is article mein diye gaye photo wale prompt ko copy kar lena hai. Uske baad ChatGPT application ko open karke apna koi bhi clear face wala photo upload kar dena hai. Ab copy kiya hua prompt paste karke send kar dena hai. Kuch hi der mein ek bilkul cinematic photo generate hokar saamne aa jayega, jise download kar lena hai.
- Generate the Video: Ab fir se meri website par aakar video wala prompt copy kar lena hai. Iske baad Google Gemini app ko open karke download kiya hua cinematic photo upload karna hai aur video wala prompt paste karke send kar dena hai. Thoda sa wait karne ke baad kuch hi seconds mein aapka AI cinematic video ready ho jayega. Download button par click karke use apni gallery mein save kar sakte hain.
- Final Touch-up: Video save hone ke baad use CapCut ya VN Editor mein add kar lena hai. Ab apni pasand ke hisaab se thode bahut effects, smooth transitions aur ek accha background music add karke video ko export kar lena hai.
Ab aapka professional cinematic AI video bilkul ready hai, jise aap Instagram, Facebook ya YouTube par upload kar sakte hain!
How Can You Make the Video Look Even More Professional?
Doston, ek professional cinematic video sirf AI ki madad se hi nahi banti, balki uski sahi color grading, smooth transitions aur video ke mood se match karta hua background music bhi bahut important hota hai. Isliye aapko in sab cheezon par bhi dhyan dena chahiye.
Iske saath hi video ki starting mein ek strong hook lagana bahut zaroori hai, jisse audience rukkar aapki video dekhe. Agar aapke video ke pehle kuch seconds hi attractive honge, to viewers poori video dekhne ke chances bhi kaafi zyada badh jaate hain.